|
|
Kirby's 1991 Trans Am Project
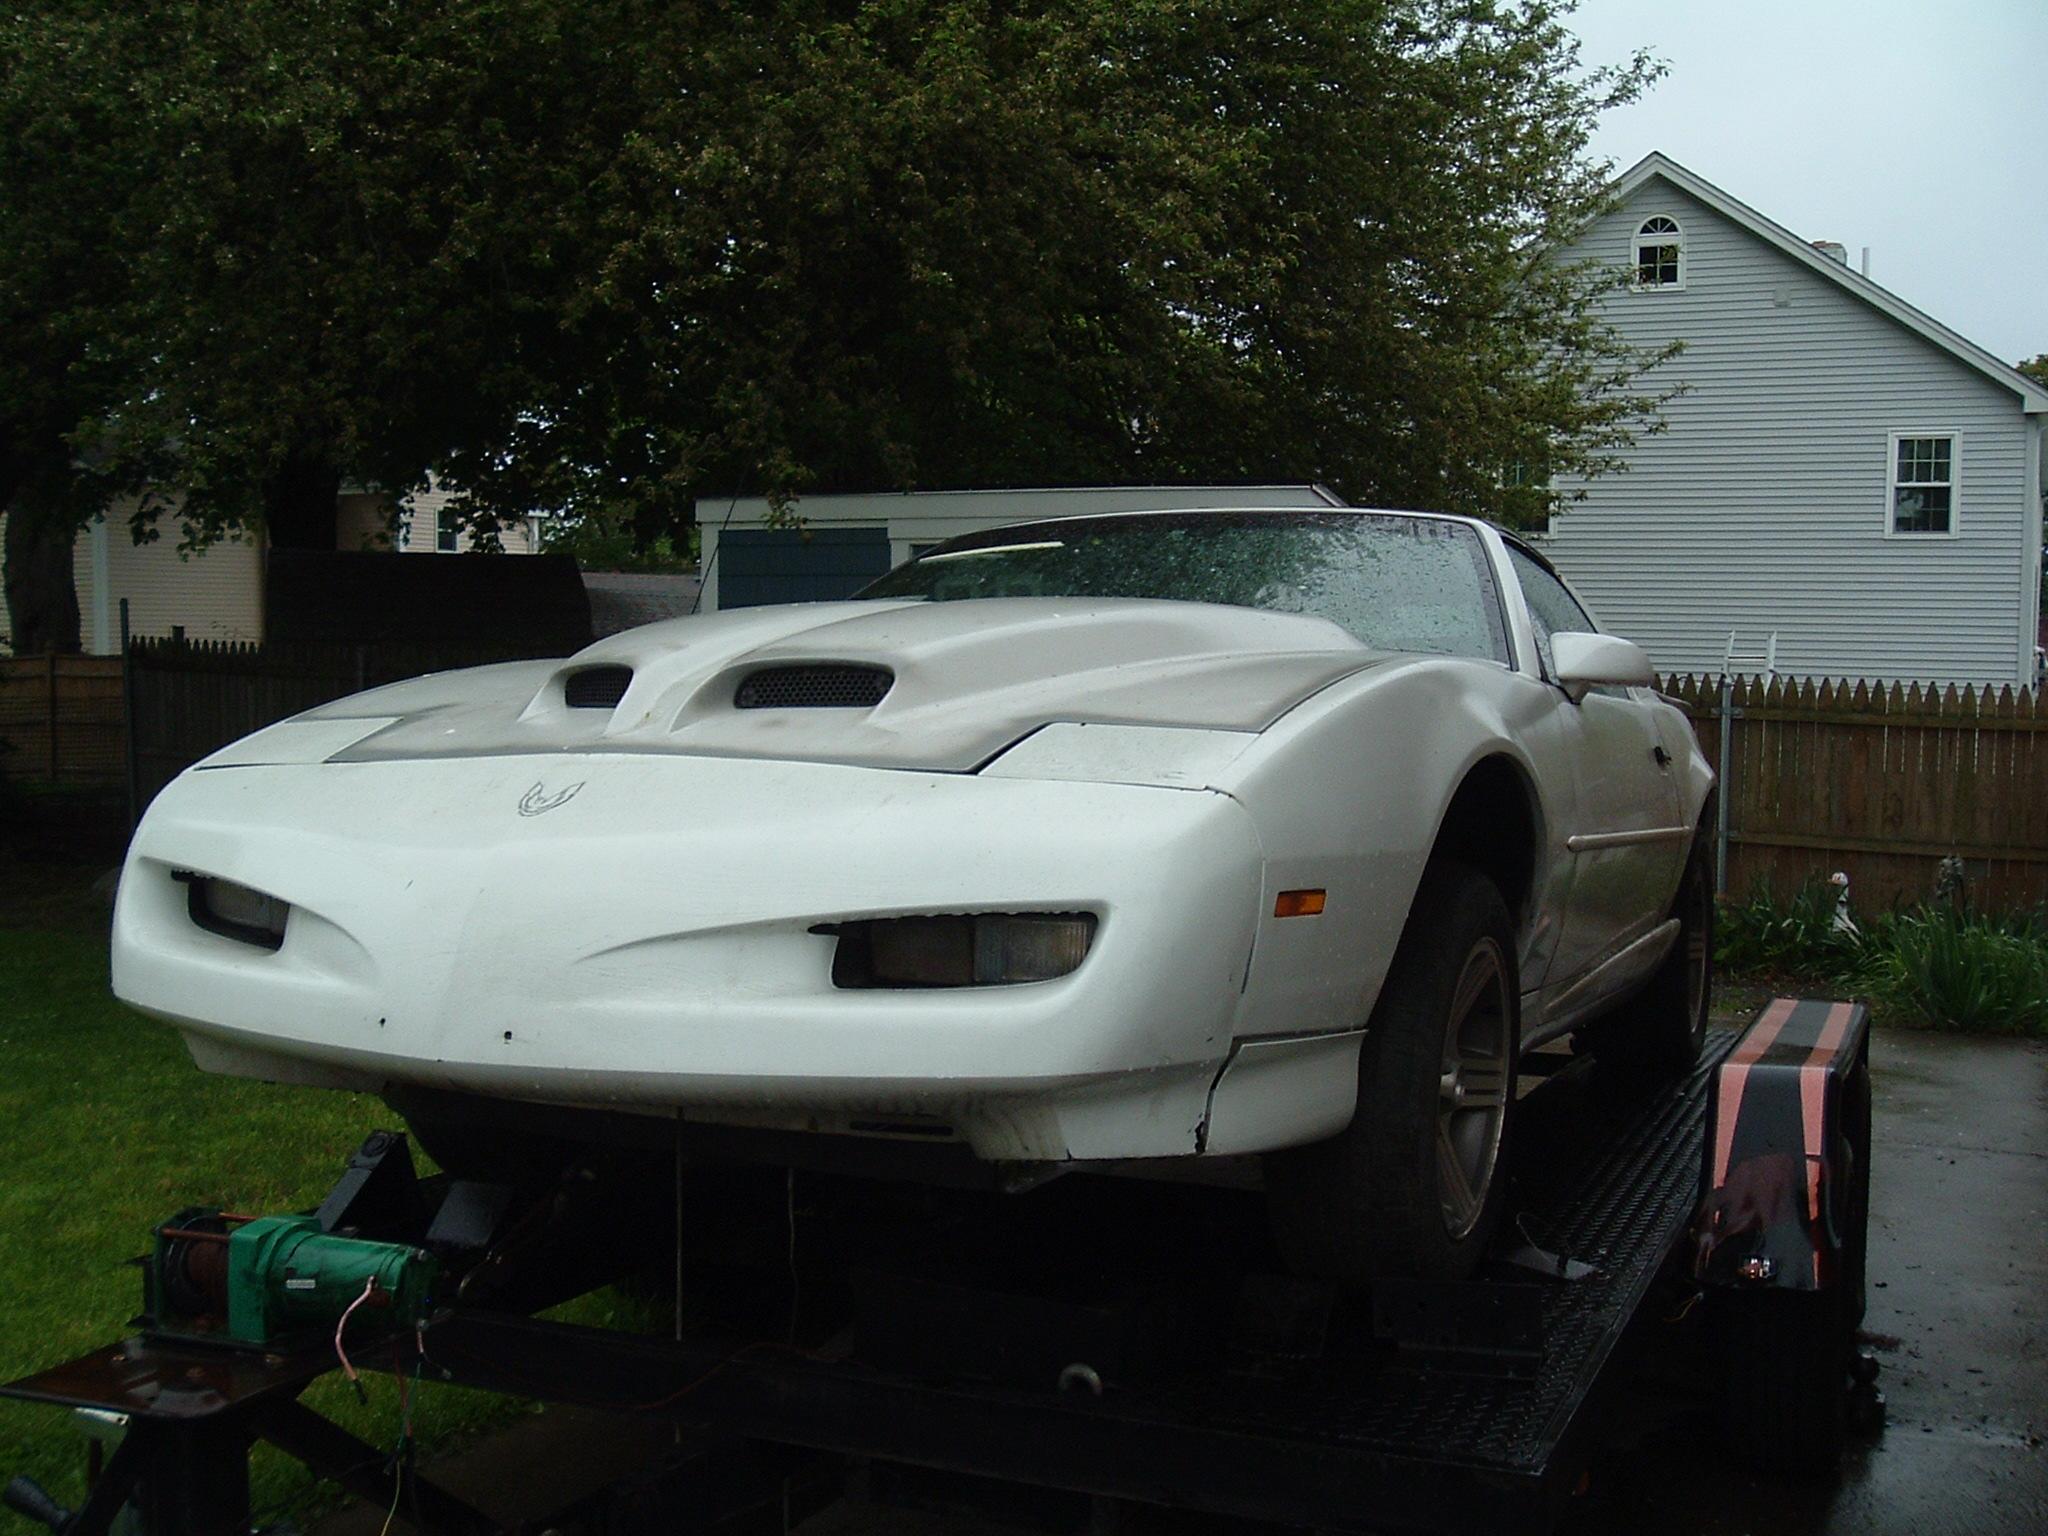
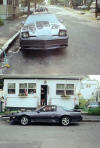
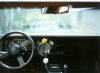
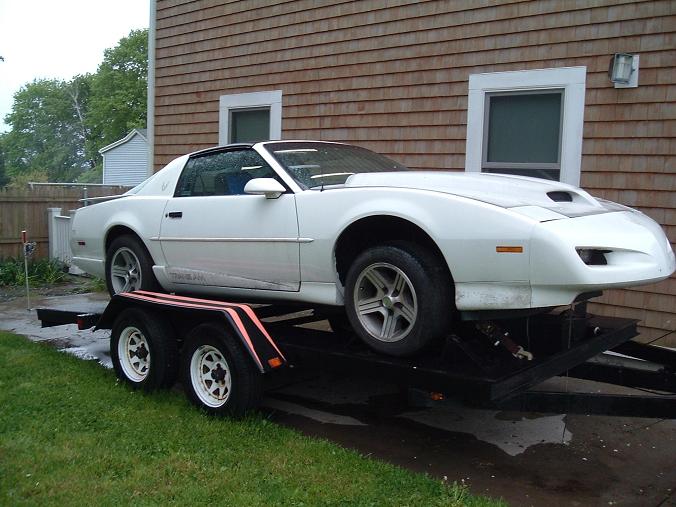
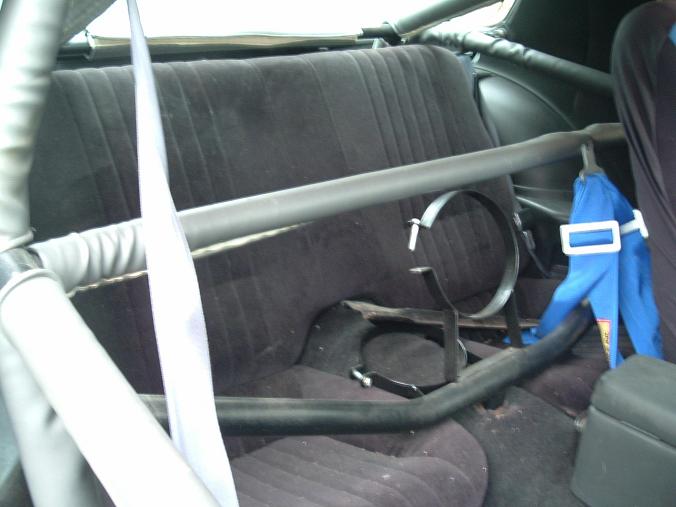
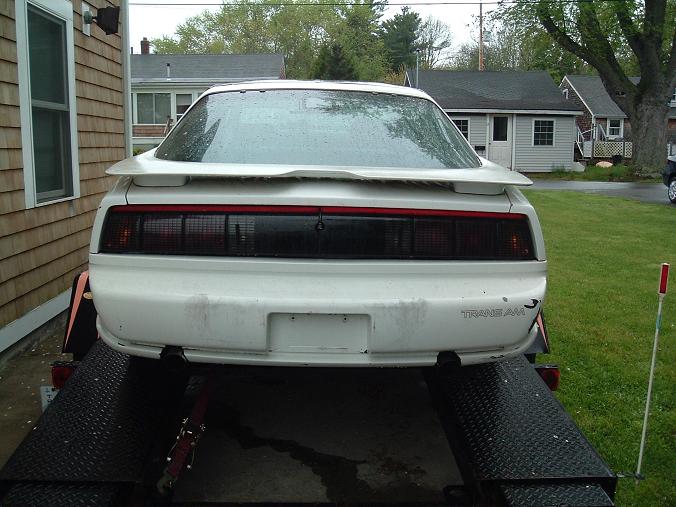
Here is Kirby's 91 Firebird prior to being delivered to his house in Lynn from Bristol, RI. the car was found at the Mansfield Swap Meet in May 2011 and features a nice cage, ram air hood and full exhaust. it is the perfect candidate for his motor and transmission since the 69 Camaro project has been sold as too much work needed to be done, due to the balance of having a new family. After some horsetrading a deal was had and the car will be delivered on June 4th.
When the Trans Am was first put together it ran 13.90's @ 104 without NOS first pass ever, car would have easily gone in the low 12's. The Trans Am was originally built about 10 years ago and later stripped as extensive frame damage was found. A complete 1969 Camaro was located and soon it was purchased. The car had a hacked up cage, needed all the floors and of course quarters and wheel houses. New floors were installed in 2002 and the car has sat in storage until December 2005, it then was moved to Lynn to my house and then to Kirbys house when he bought in Lynn, it was sold in the spring of 2011 to make way for the new white Trans Am which will be a quicker build. Pictures of the past projects are still up and watch for updates of the 1991 Trans Am
Owner
Kirby
Builder
Kirby, Tim, Wayne, Sebastian - glass restoration
Body and Chassis
- 1991 Pontiac Trans Am
- White
- Ram Air
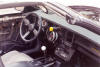
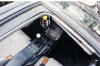
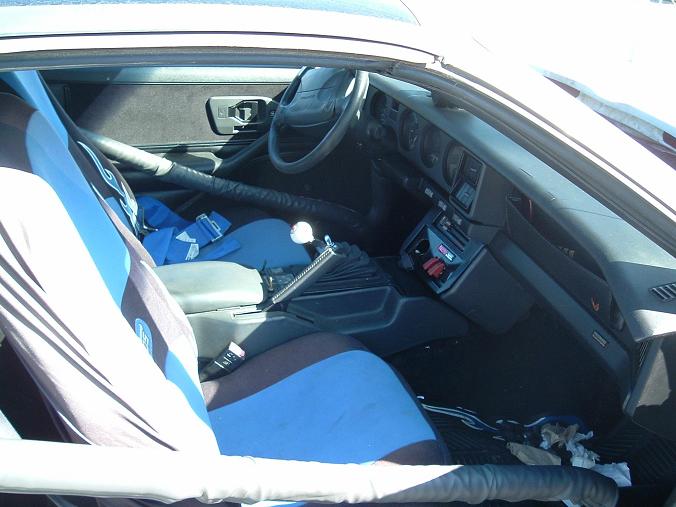
Interior
- Factory Pontiac black cloth
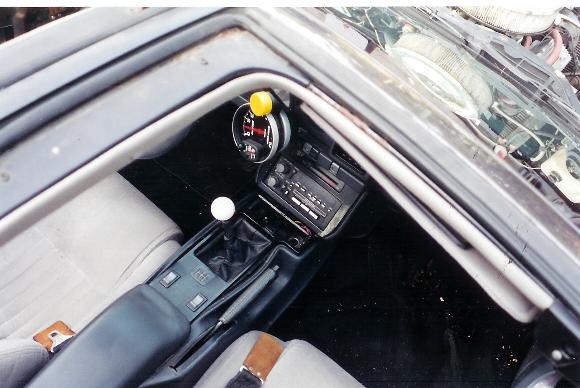
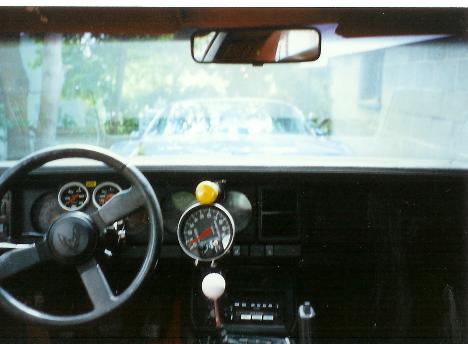
- Autometer liquid filled Pro-Comp oil and water
gauges
- Autometer Monster tachometer with shift light
- Harnesses
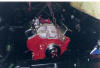
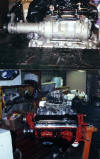
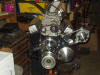
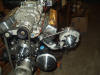
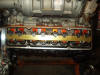
Engine
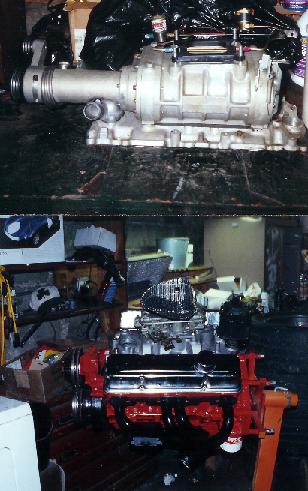
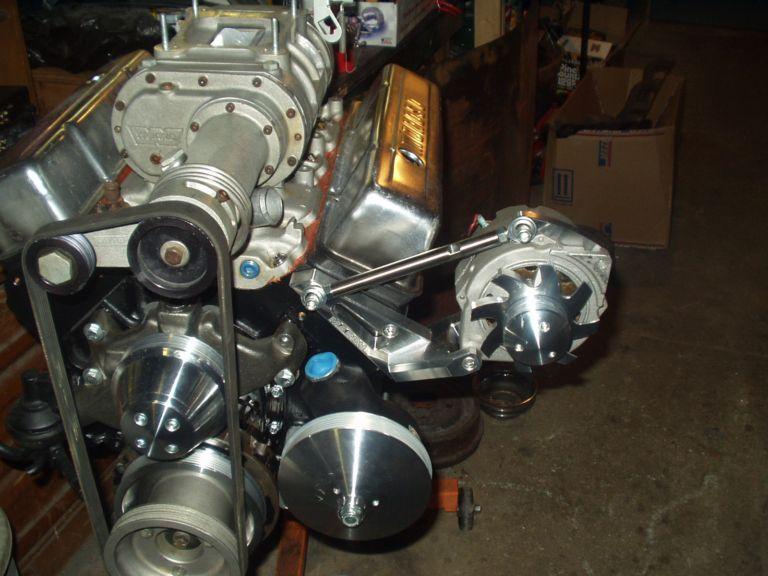
- 383 8.5 to 1
- 2 bolt main 1970 casting block
- Dart Iron Eagle Heads with 2,05 intake valves
- 292 duration, 292H Competition Cams camshaft
- Screw in studs, guide plates
- Competition Cams roller tip rocker arms
- Holley 650 double pump, dual feed carburetor
- Weiand Intake Manifold
- Holley 650 double pump, dual feed carburetor
- MSD 6AL, Blaster coil
- .45 gapped AC spark plugs
- 15 degrees initial timing
- 300 Plus Accel spark plug wires
- Open element Moroso air cleaner
- 250 HP shot NOS
- Holley mechanical pump
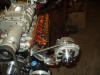
Transmission
- T 56 SIX SPEED
- Hurst Shifter
- Custom balanced Hays competition flywheel
- Upgrade to 11 inch clutch and scattershield
Suspension
- Gas shocks
- Boxed control arms
- Upgraded bushings and chassis bracing
Rear Axle
- 10 bolt unknow gears unknown posi?
- Mobil 1 gear oil
Brakes
- 4-wheel disc brakes
- Factory Pontiac fronts and rears, single piston
caliper
- Carbon Metallic Pads
Wheels/Tires
- 16" X 8" Pontiac Aluminum wheels
- 225/45/16 BF Goodrich R1 front
- 245/45/16 BF Goodrich R1
|